
Introduction
This guide explains how to add a new IP address to a printer on a Windows desktop. Use this when the printer IP address has changed or when the printer needs to connect through a specific network IP address.
Steps
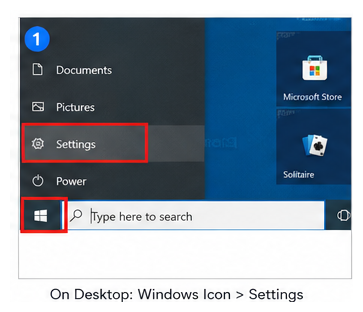
Step 1: Open Windows Settings
On the desktop, click the Windows icon, then select Settings.
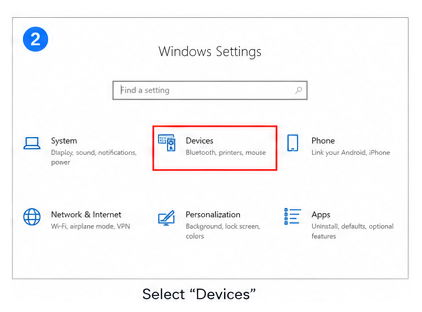
Step 2: Select Devices
In Windows Settings, select Devices.
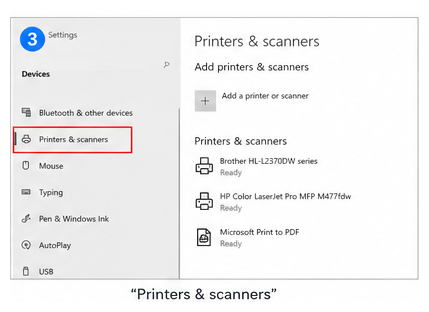
Step 3: Open Printers & Scanners
Select Printers & scanners.
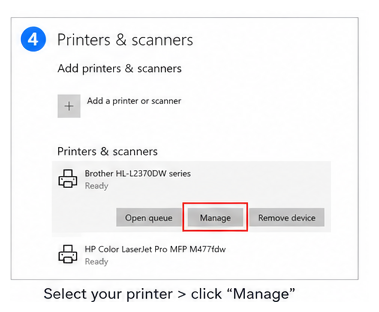
Step 4: Manage the Printer
Select the printer you want to update, then click Manage.
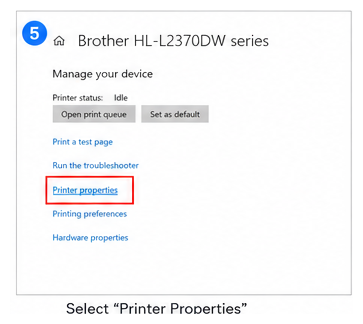
Step 5: Open Printer Properties
Select Printer properties.
Step 6: Open the Ports Tab
Select the Ports tab from the top toolbar.
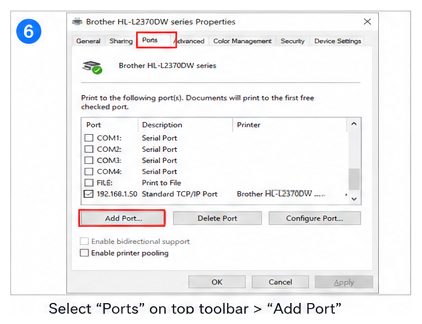
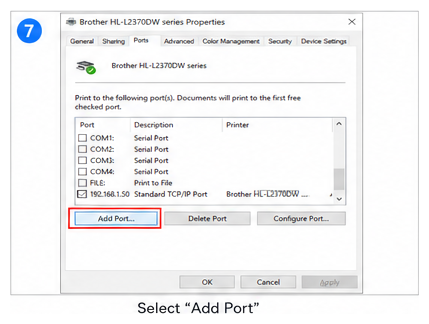
Step 7: Add a New Port
Click Add Port.
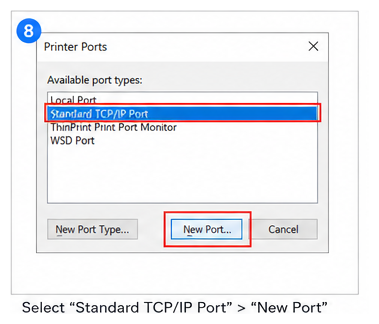
Step 8: Create a Standard TCP/IP Port
Select Standard TCP/IP Port, then click New Port.
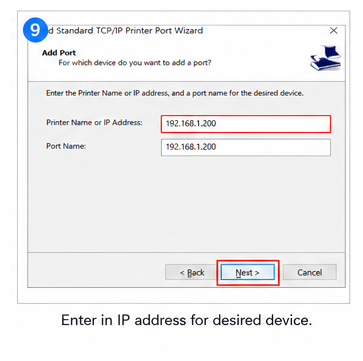
Step 9: Enter the IP Address
Enter the IP address for the printer or desired device.
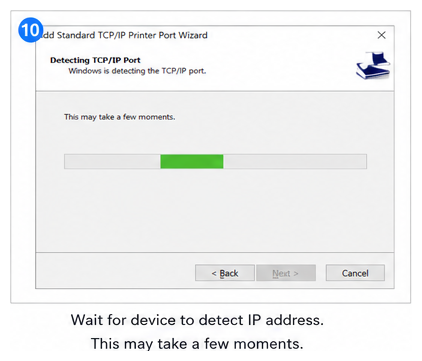
Step 10: Wait for Detection
Wait for Windows to detect the IP address. This may take a few moments.
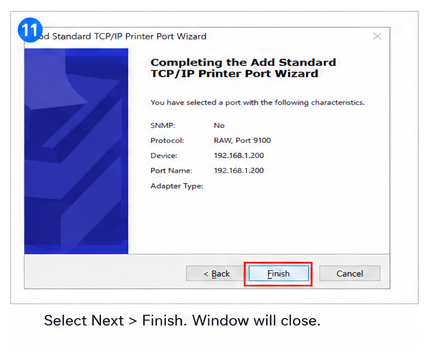
Step 11: Continue and Finish
Click Next, then click Finish. The setup window will close.
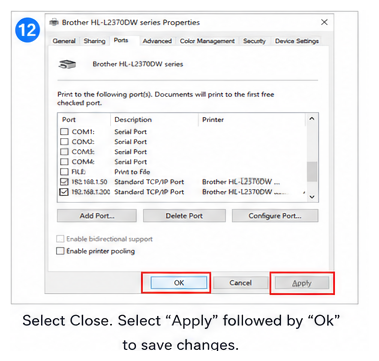
Step 12: Save Changes
Click Close, then click Apply and OK to save the changes.
Note
Make sure the printer is powered on and connected to the same network before adding the IP address.
Refer to the video below for a detailed step-by-step walkthrough of this process.