In this article, you will learn a step-by-step process for executing a Batch Settlement on your Handheld POS.
Here are the steps:
Step 1
From your main screen, find “QOrder” and click on it.

Step 2
From your Handheld POS main screen, click on Batch Manager.

Step 3
You will see a screen similar to the one displayed below. Review the transactions and make changes if needed.

Note: this is an example screen, and you will encounter a different list of transactions.
Step 4 (Additional adjustments)
After the customer has signed their bill, you can adjust the tip amount to their preferred amount on the same screen.
From the screen in Step 3, click on any ticket you wish to adjust. You will be shown the screens below once you click on one of the tickets. You can tap on either “Description” or “Sales/Refund” to view one of these two screens.
Description screen:
This screen will show you all the information about this transaction, and you can also choose any of the optional actions below to process it.

- Optional Actions:
- Print Sale Receipt: Prints a detailed receipt summarizing the entire sale for the customer or store records.
- Send Email Receipt: Send the receipt to the customer’s email address.
- Print Store Receipt: Prints a receipt for the store’s internal records.
- Print Customer Receipt: Prints a receipt specifically for the customer to keep.
- Adjust Tip: The user can modify the tip amount on a transaction.
Sales/Refund screen:
This screen will allow you to process any additional transaction for this credit card.
- Description box: Provide a description of your additional transaction.
- Amount box: Enter the amount you wish to process for the additional transaction.
After filling out these boxes, you can process the additional transaction options.

- Additional Transaction Options:
- Sales: Make an additional sales transaction for the specified amount and description provided in the above fields.
- Refund: refund a specified amount, along with the description provided in the fields above.
- Refund full Amount: refund the full amount of this transaction.
Step 5
Once you have made all necessary adjustments, navigate back to the screen below. Click on Settle > Enter Your ID >Click “Yes” on the confirmation message asking, “Are you sure you want to settle this batch?”

Step 6
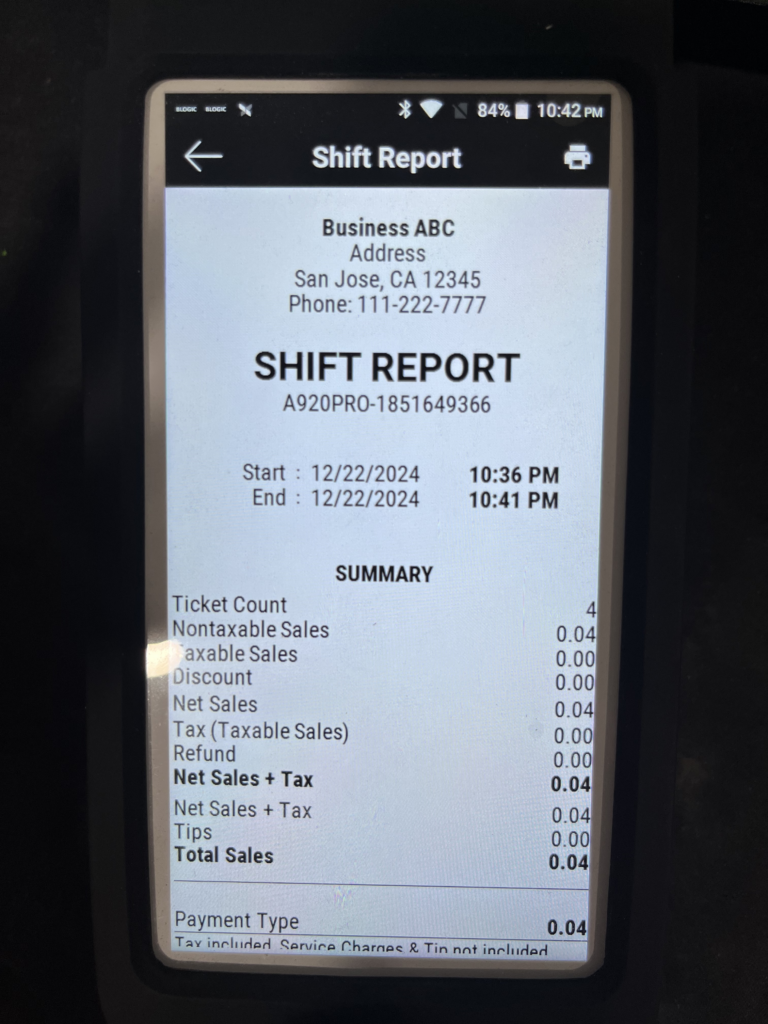
Once the screen below appears, your Batch Settlement is complete for the specific date and time indicated in the Shift Report.
